Usage
This document contains specification of all features in the extension
Login & Logout
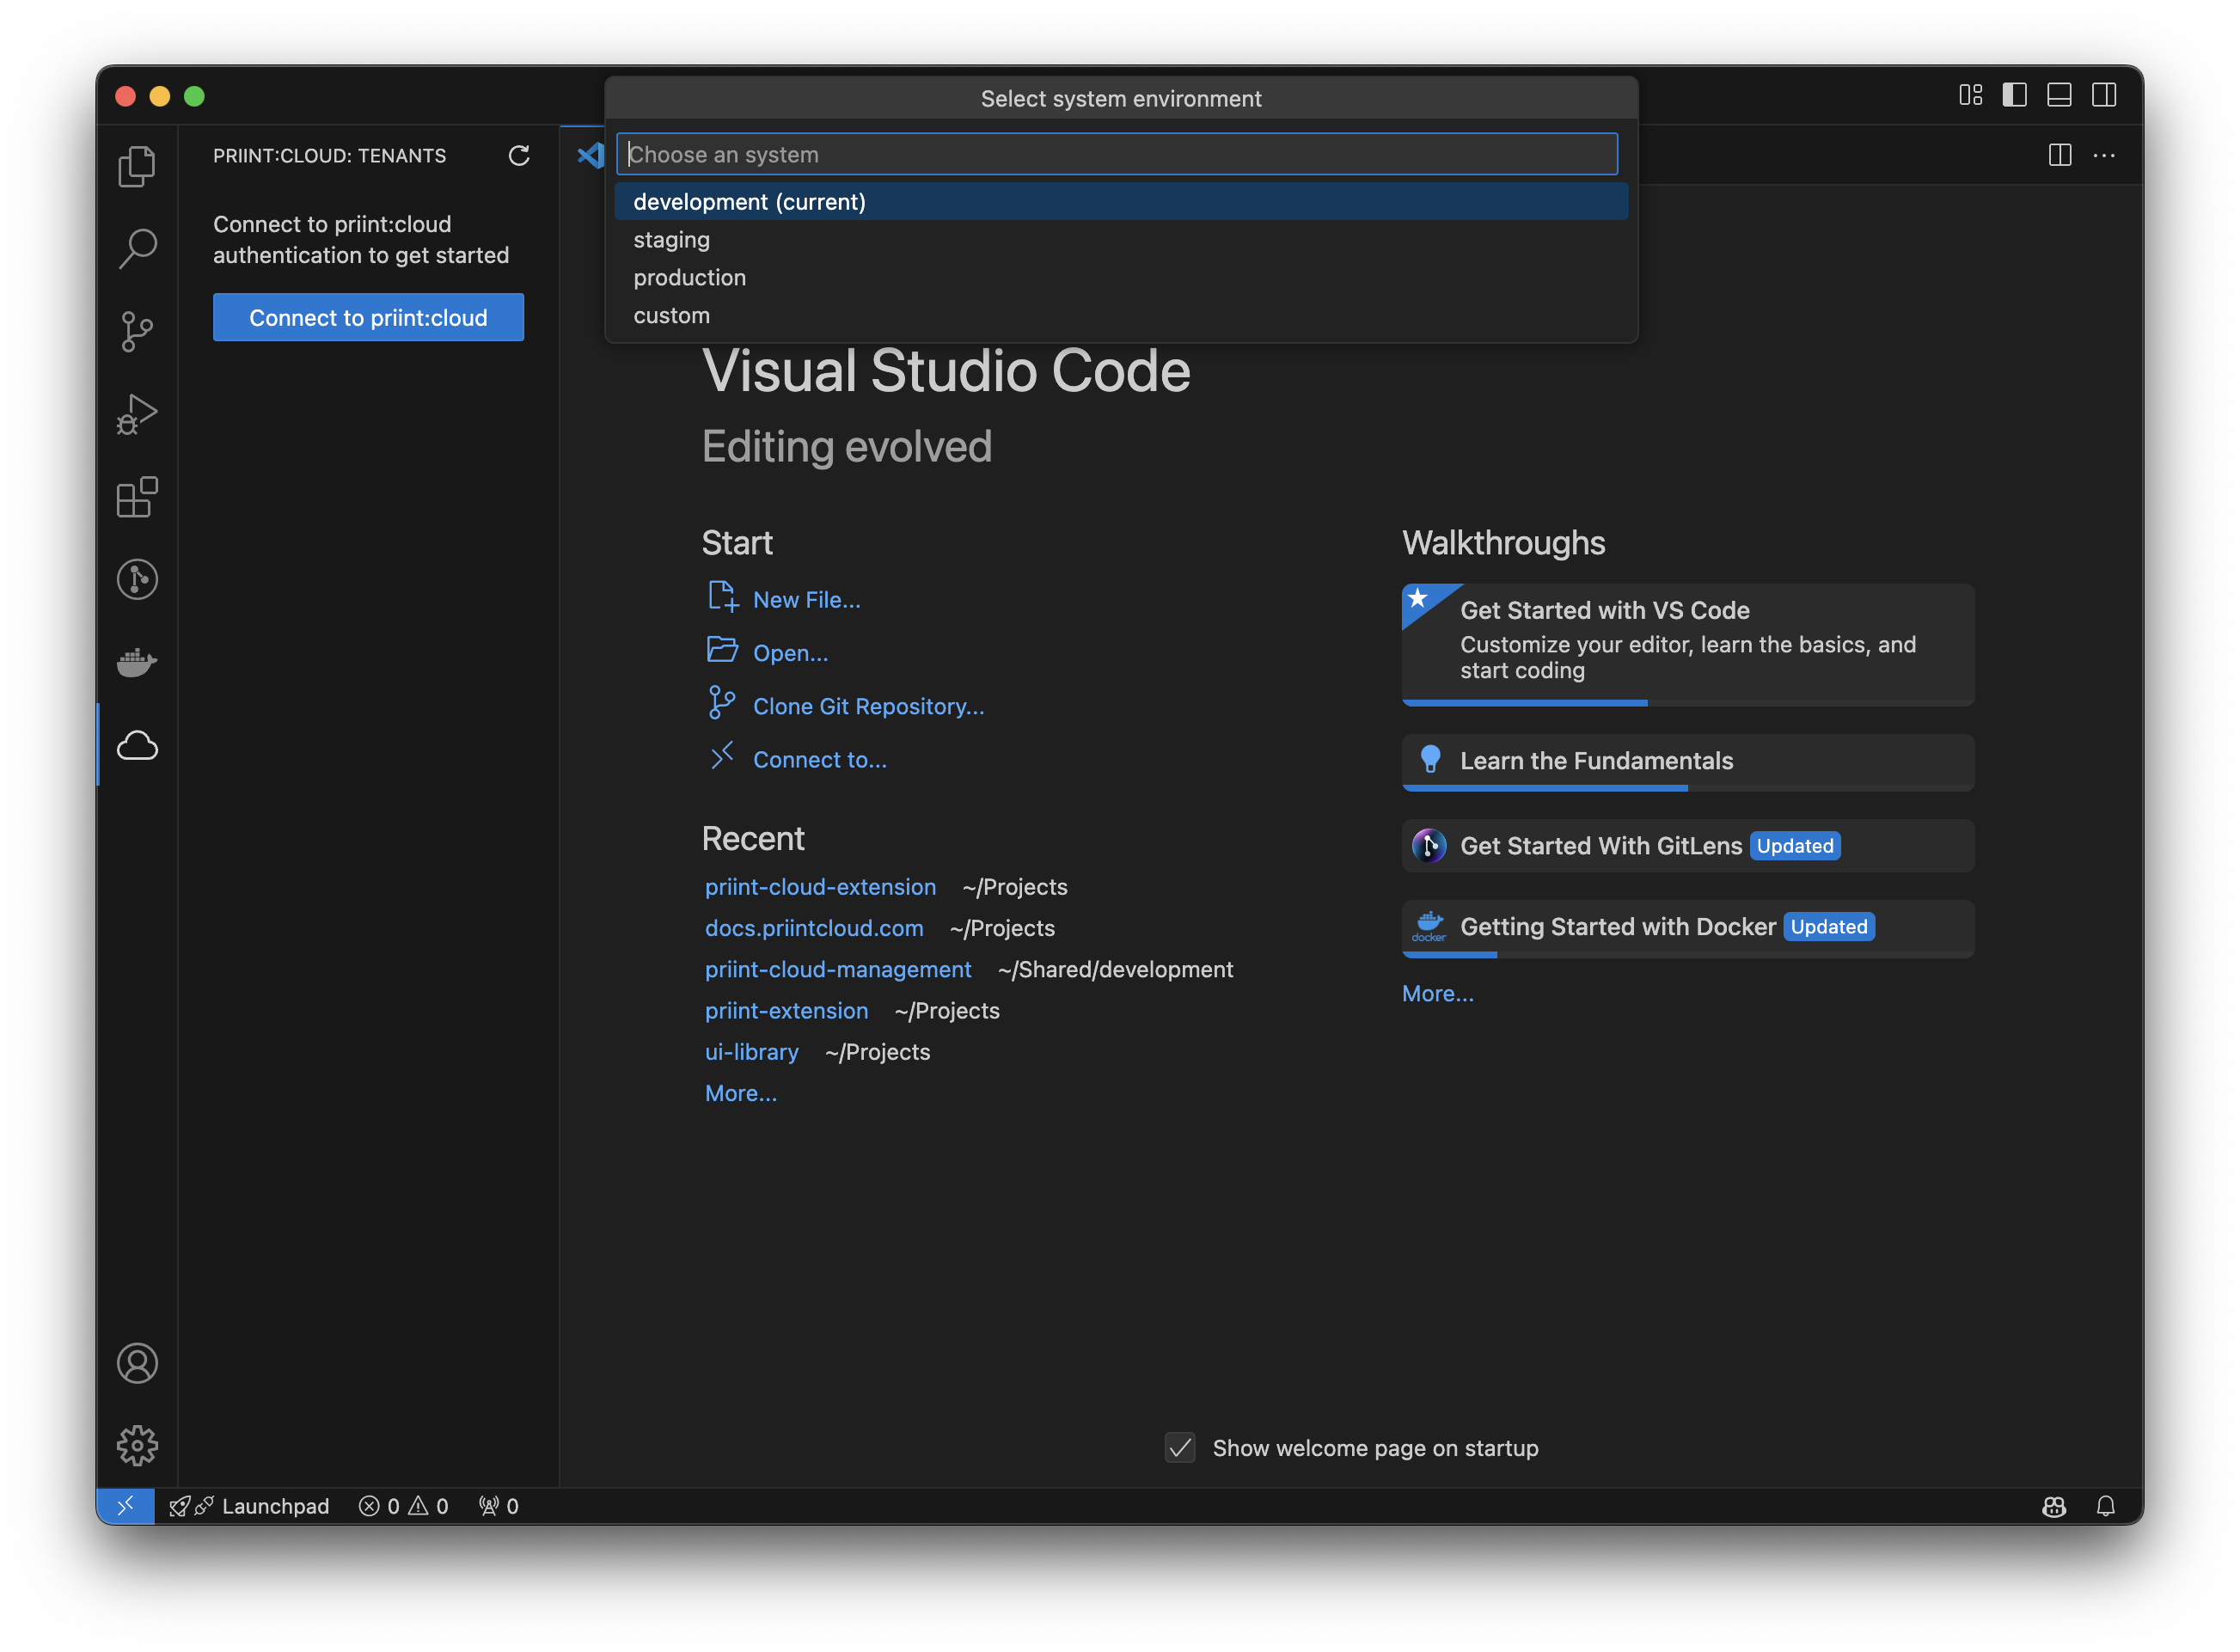
- This is our extension when user not login yet

- Click connect to Priint-cloud for logging in
- In this progress, user can select which system should be used. We have 3 default systems [development, staging, production]
- User can also add custom URL (E.g: https://example.com/api)
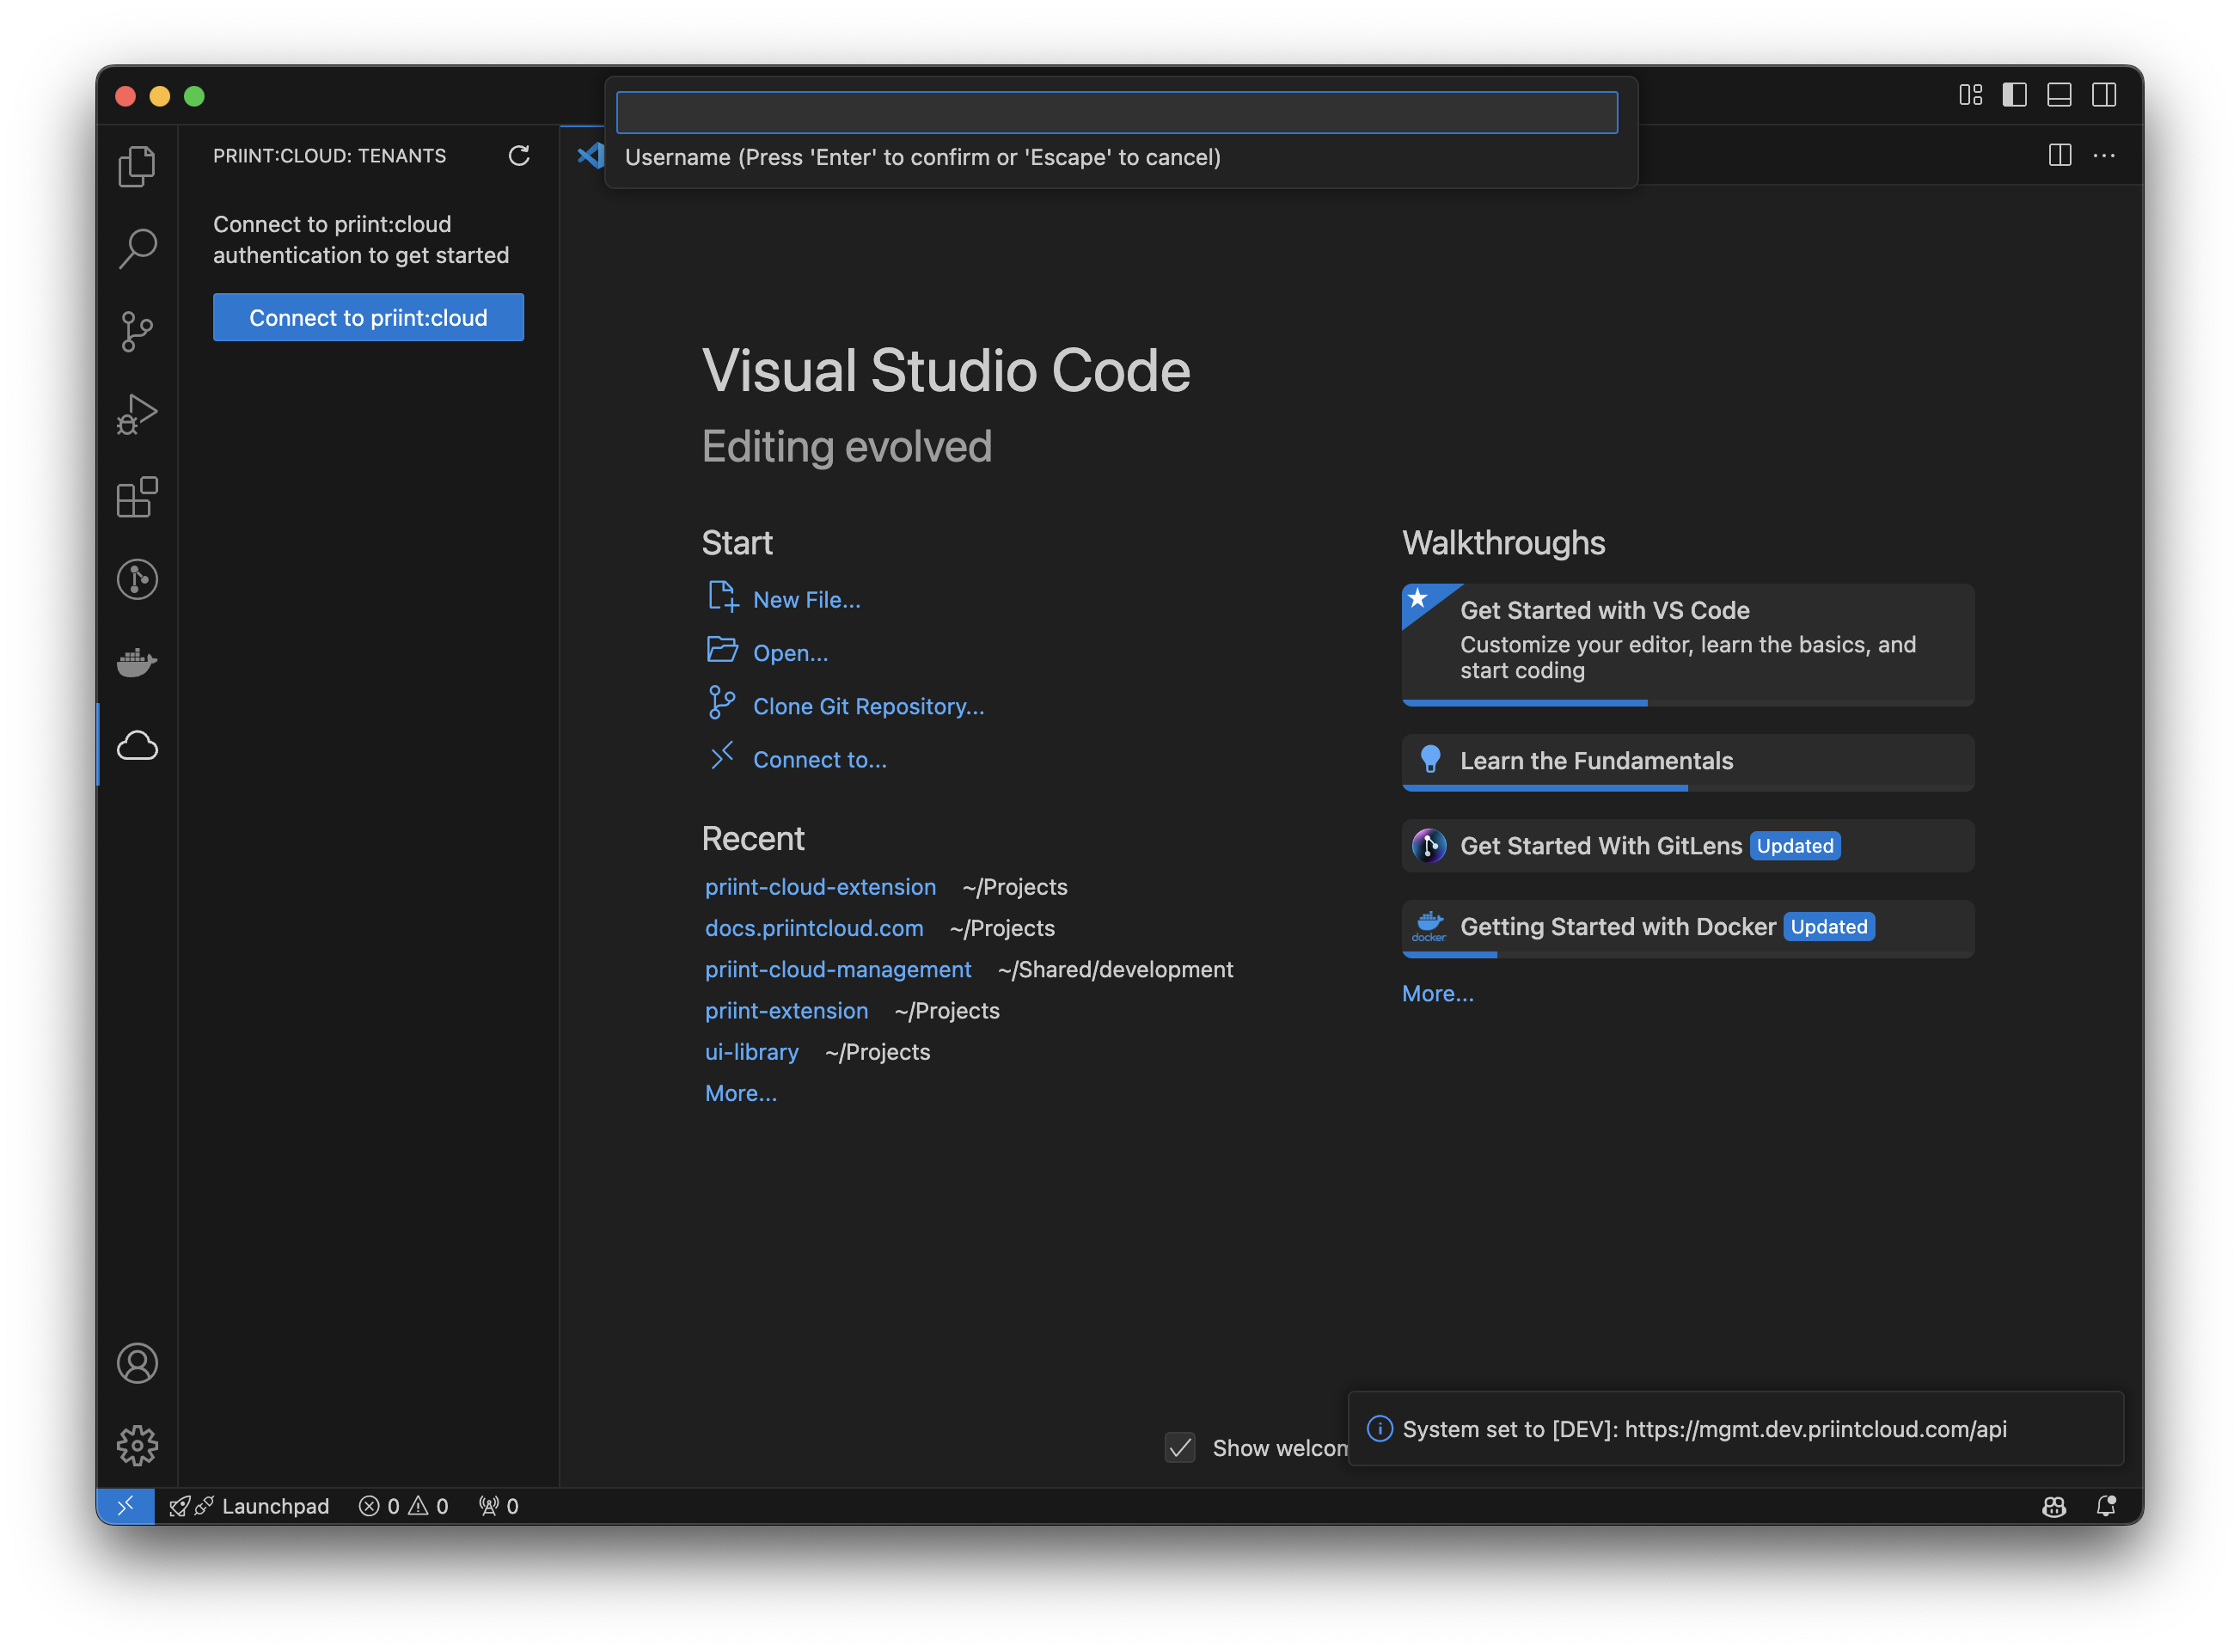
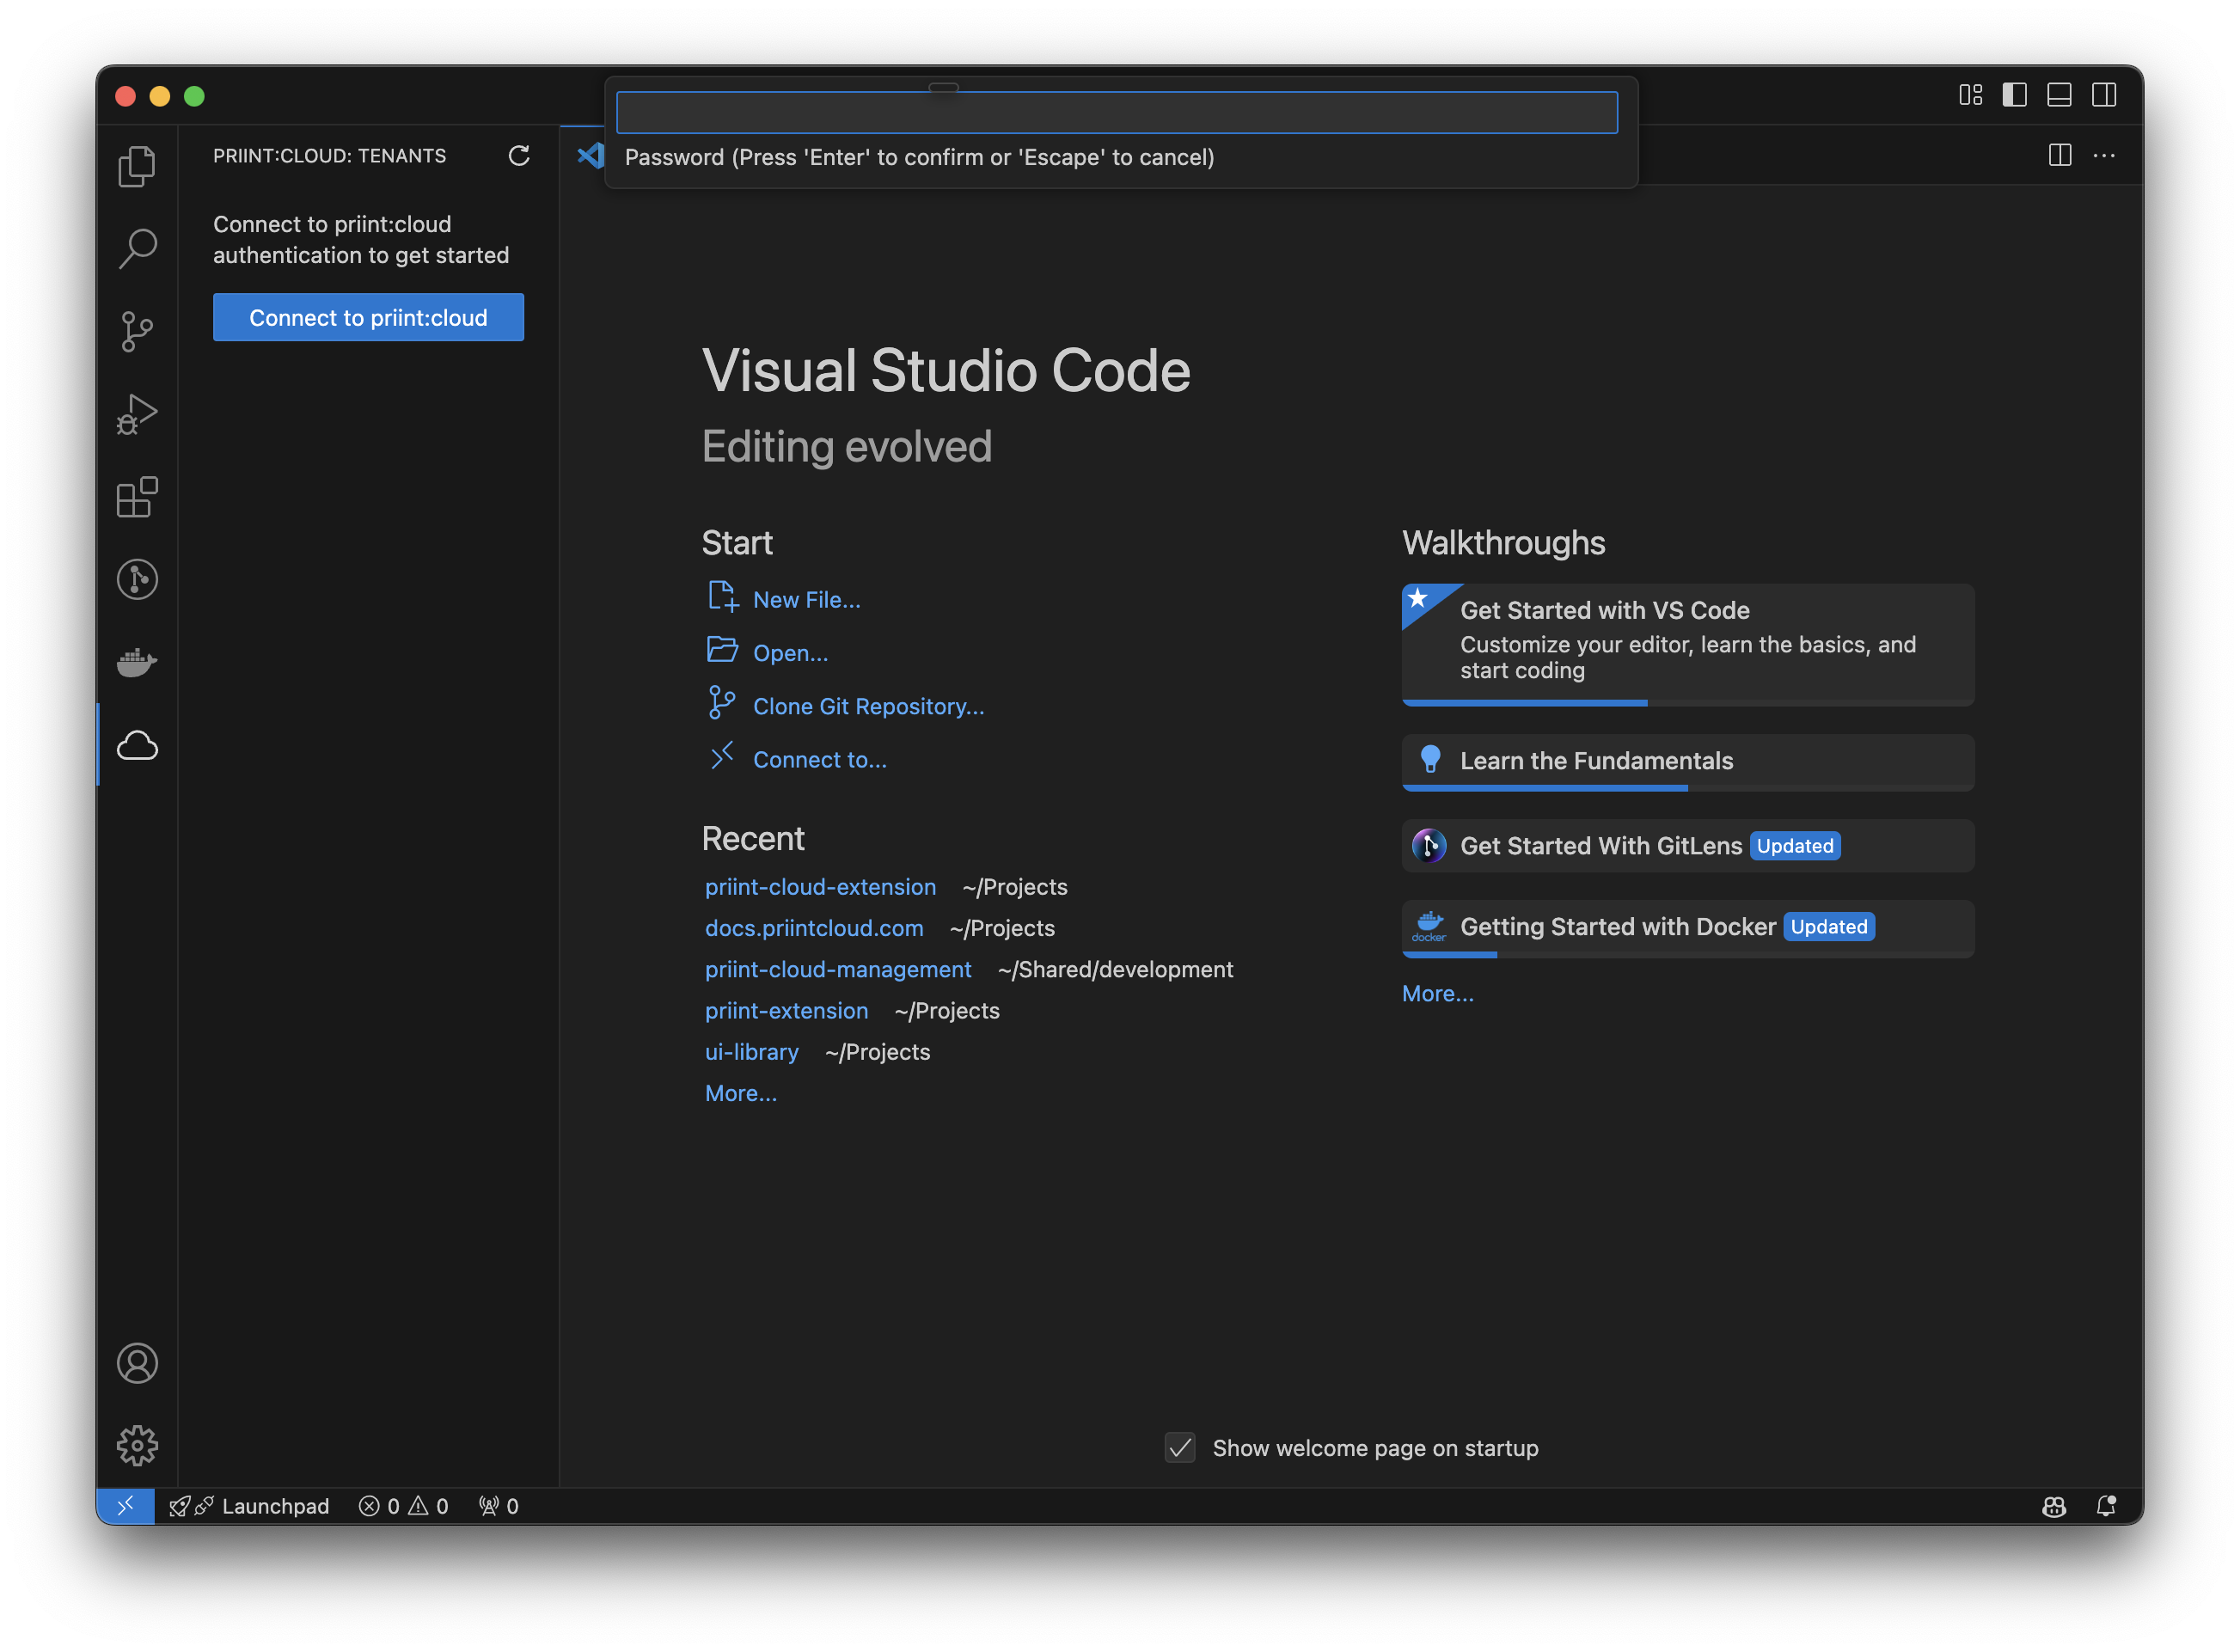
- Then user can input username and password for authenticating
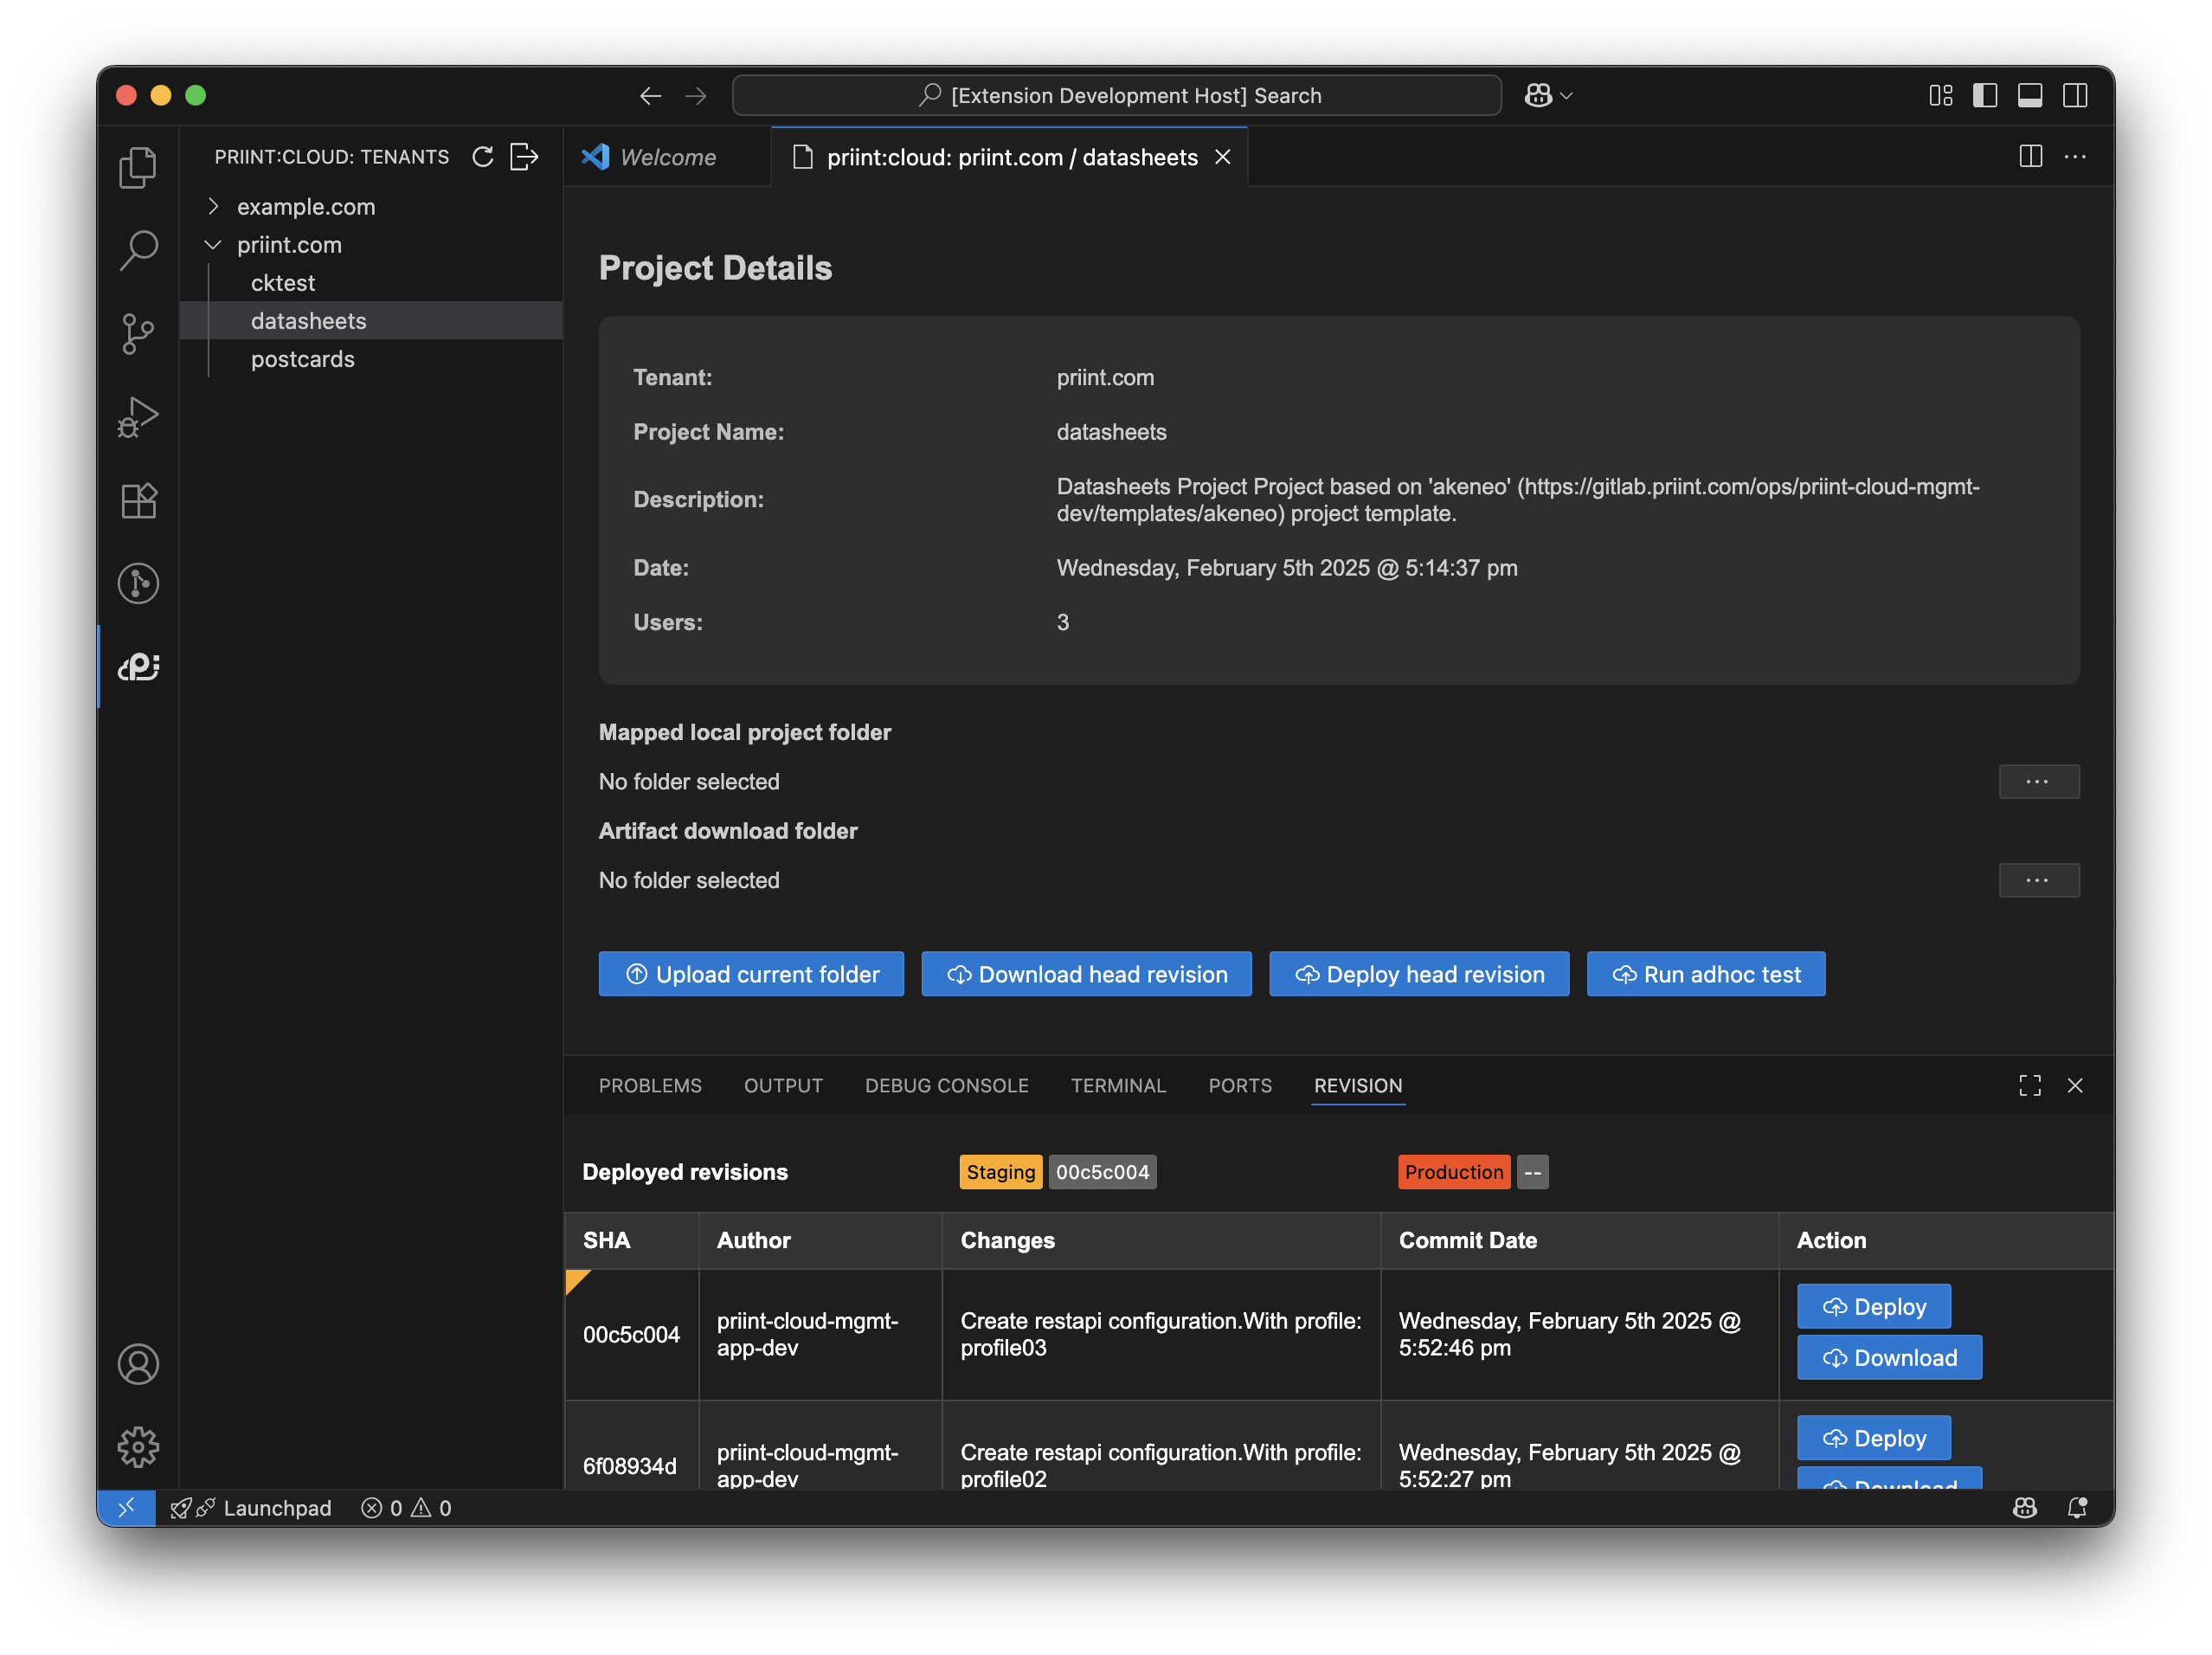
- After login sucessfully, this is the main UI
- User can call logout command for logging out by opening Command Pallete: ⌘ Command + ⇧ Shift + P (Mac) or Control + Shift + P (Windows/Linux)

Config mapping folder
- User can select default location where project is downloaded or where artifacts can be saved by clicking
...button
Upload current folder
- User can open a folder that contains commet project files and click
Upload current folderbutton - The extension will automatically get all files in the folder and zip it then upload it to cloud server
- User can config ignore files by open setting of vscode (⌘ Command + , or Control + ,), search for priint-cloud
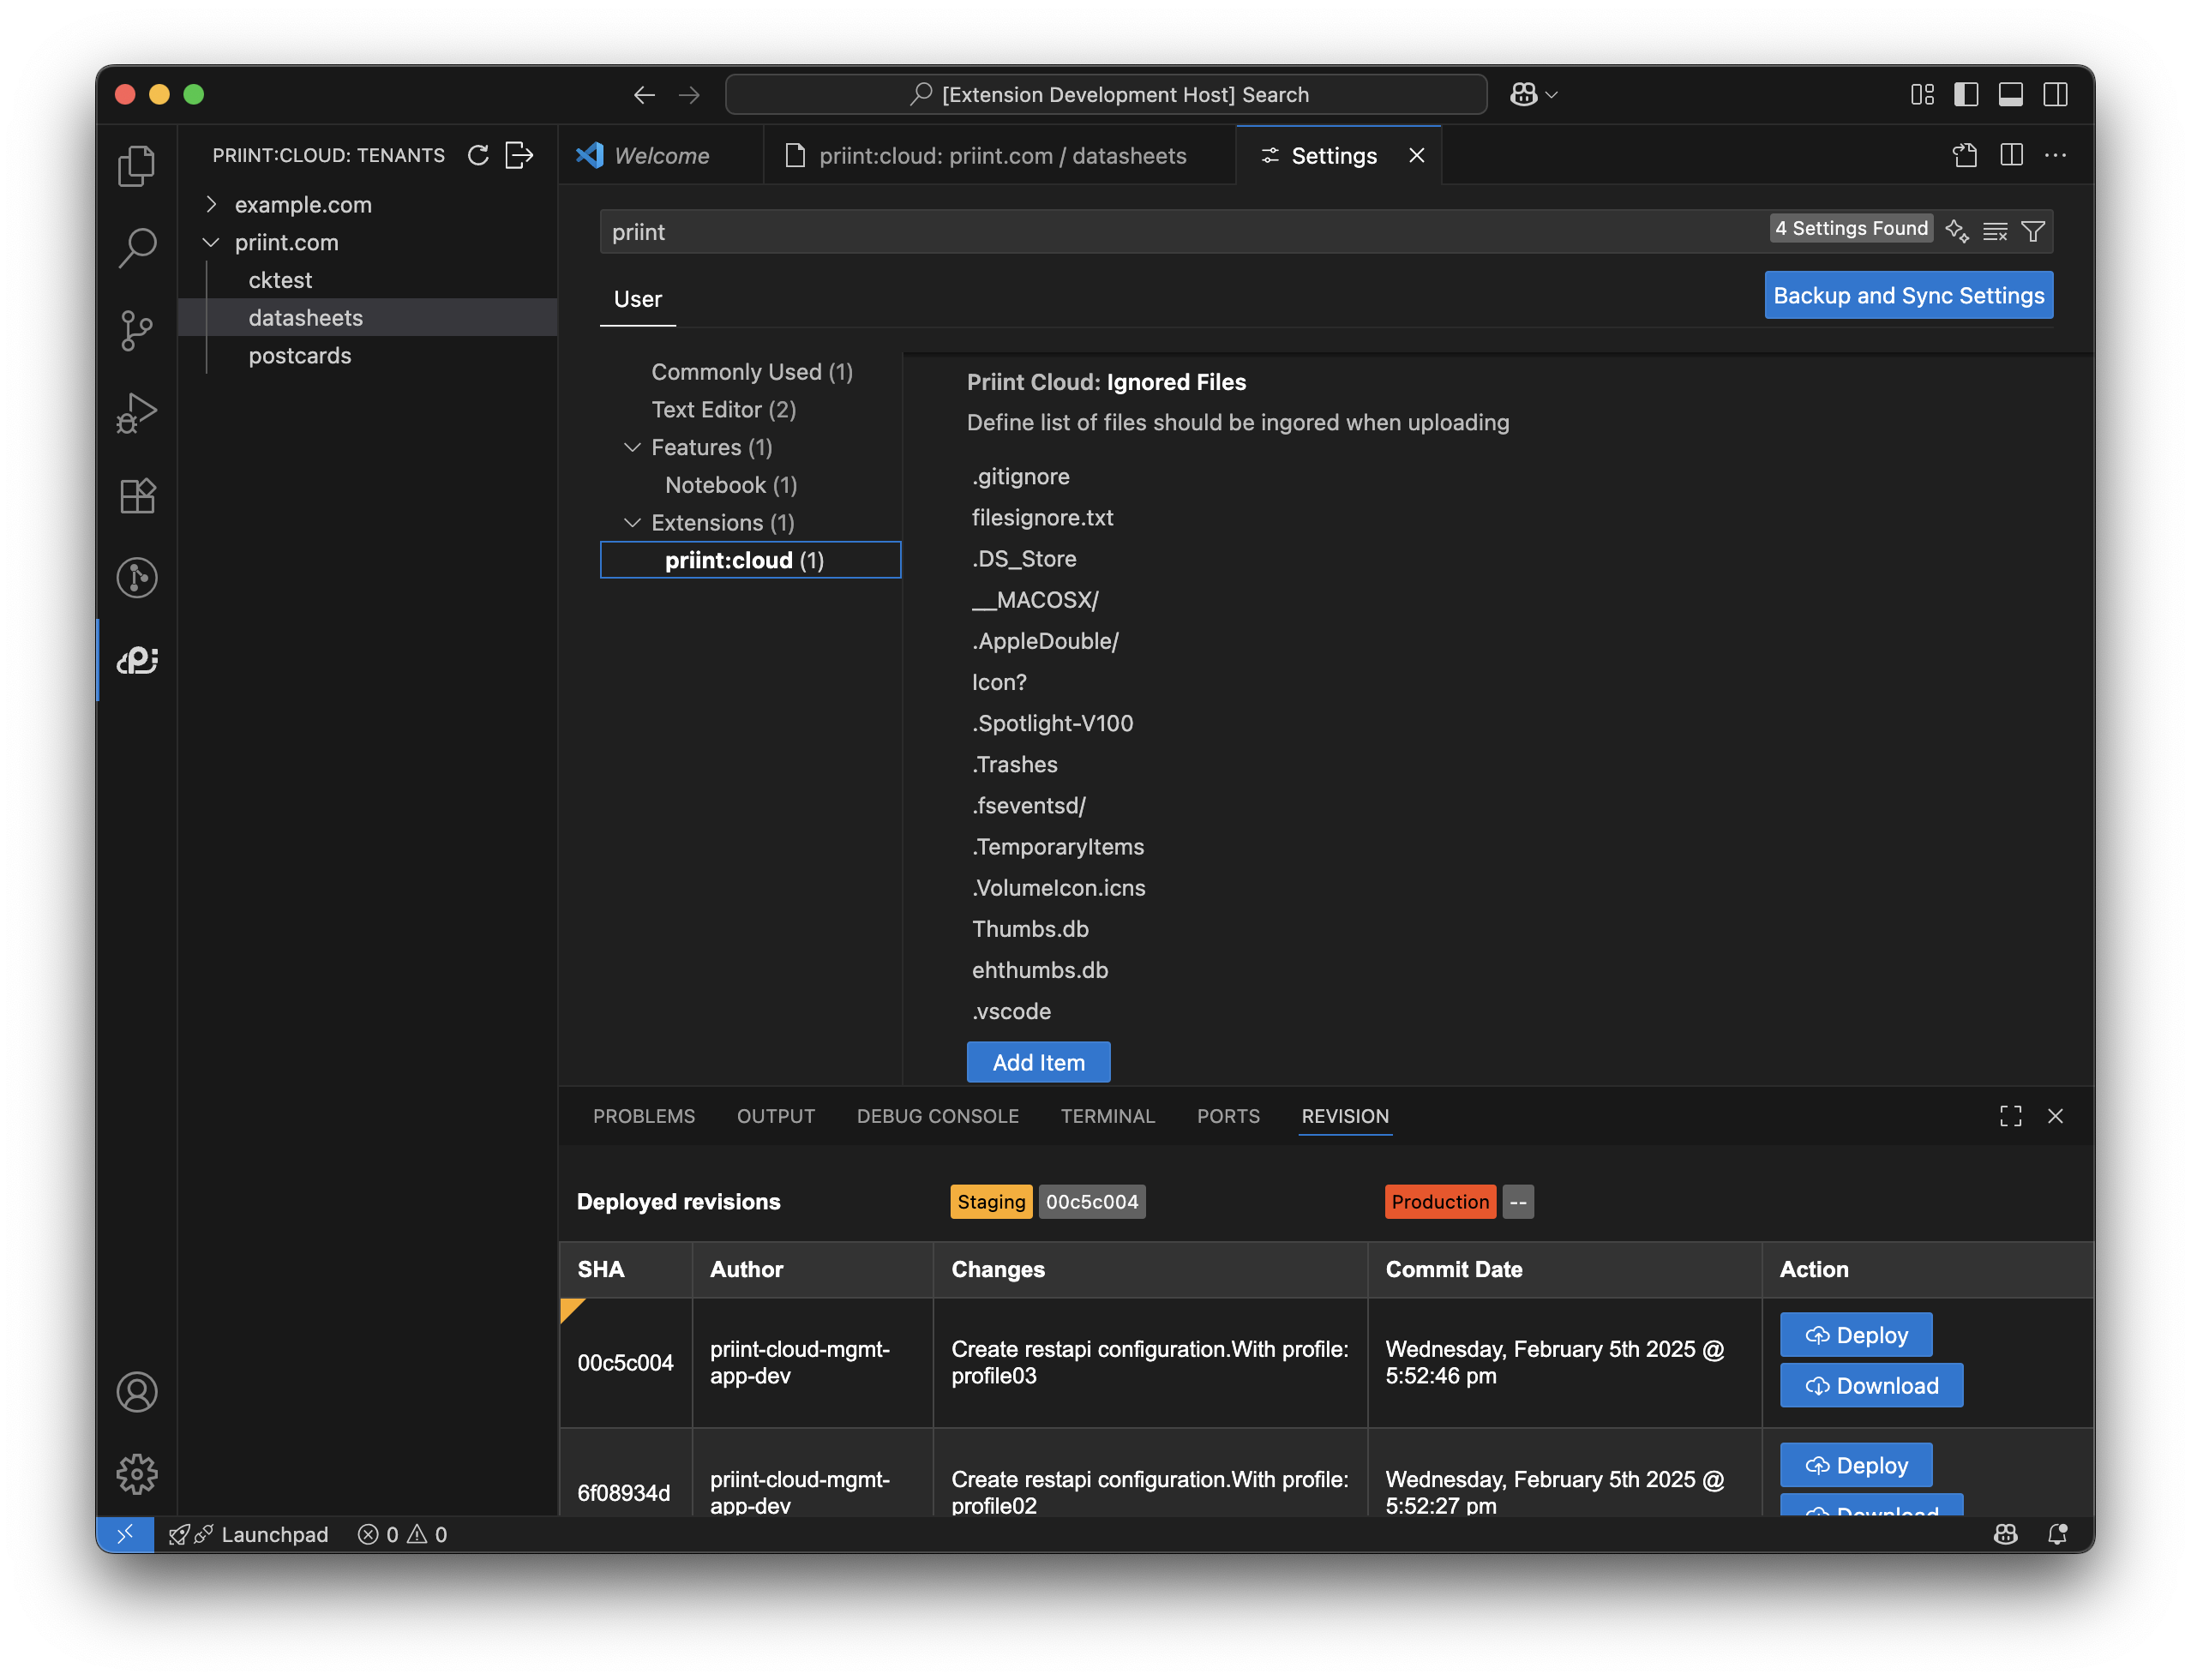
Download revision
- Clicking
Download head revisionbutton allow user download head revision of current project - If user click
Downloadbutton in Revision panel (which is placed bottom part of the extension), it will download the specific revision base on user selection
Deploy revision
- Click
Deploy head revisionat the Project detail screen or theDeploybutton in the Revision panel will deploy selected revision. - After clicking, the system will show a box for user select server [Staging, Production]
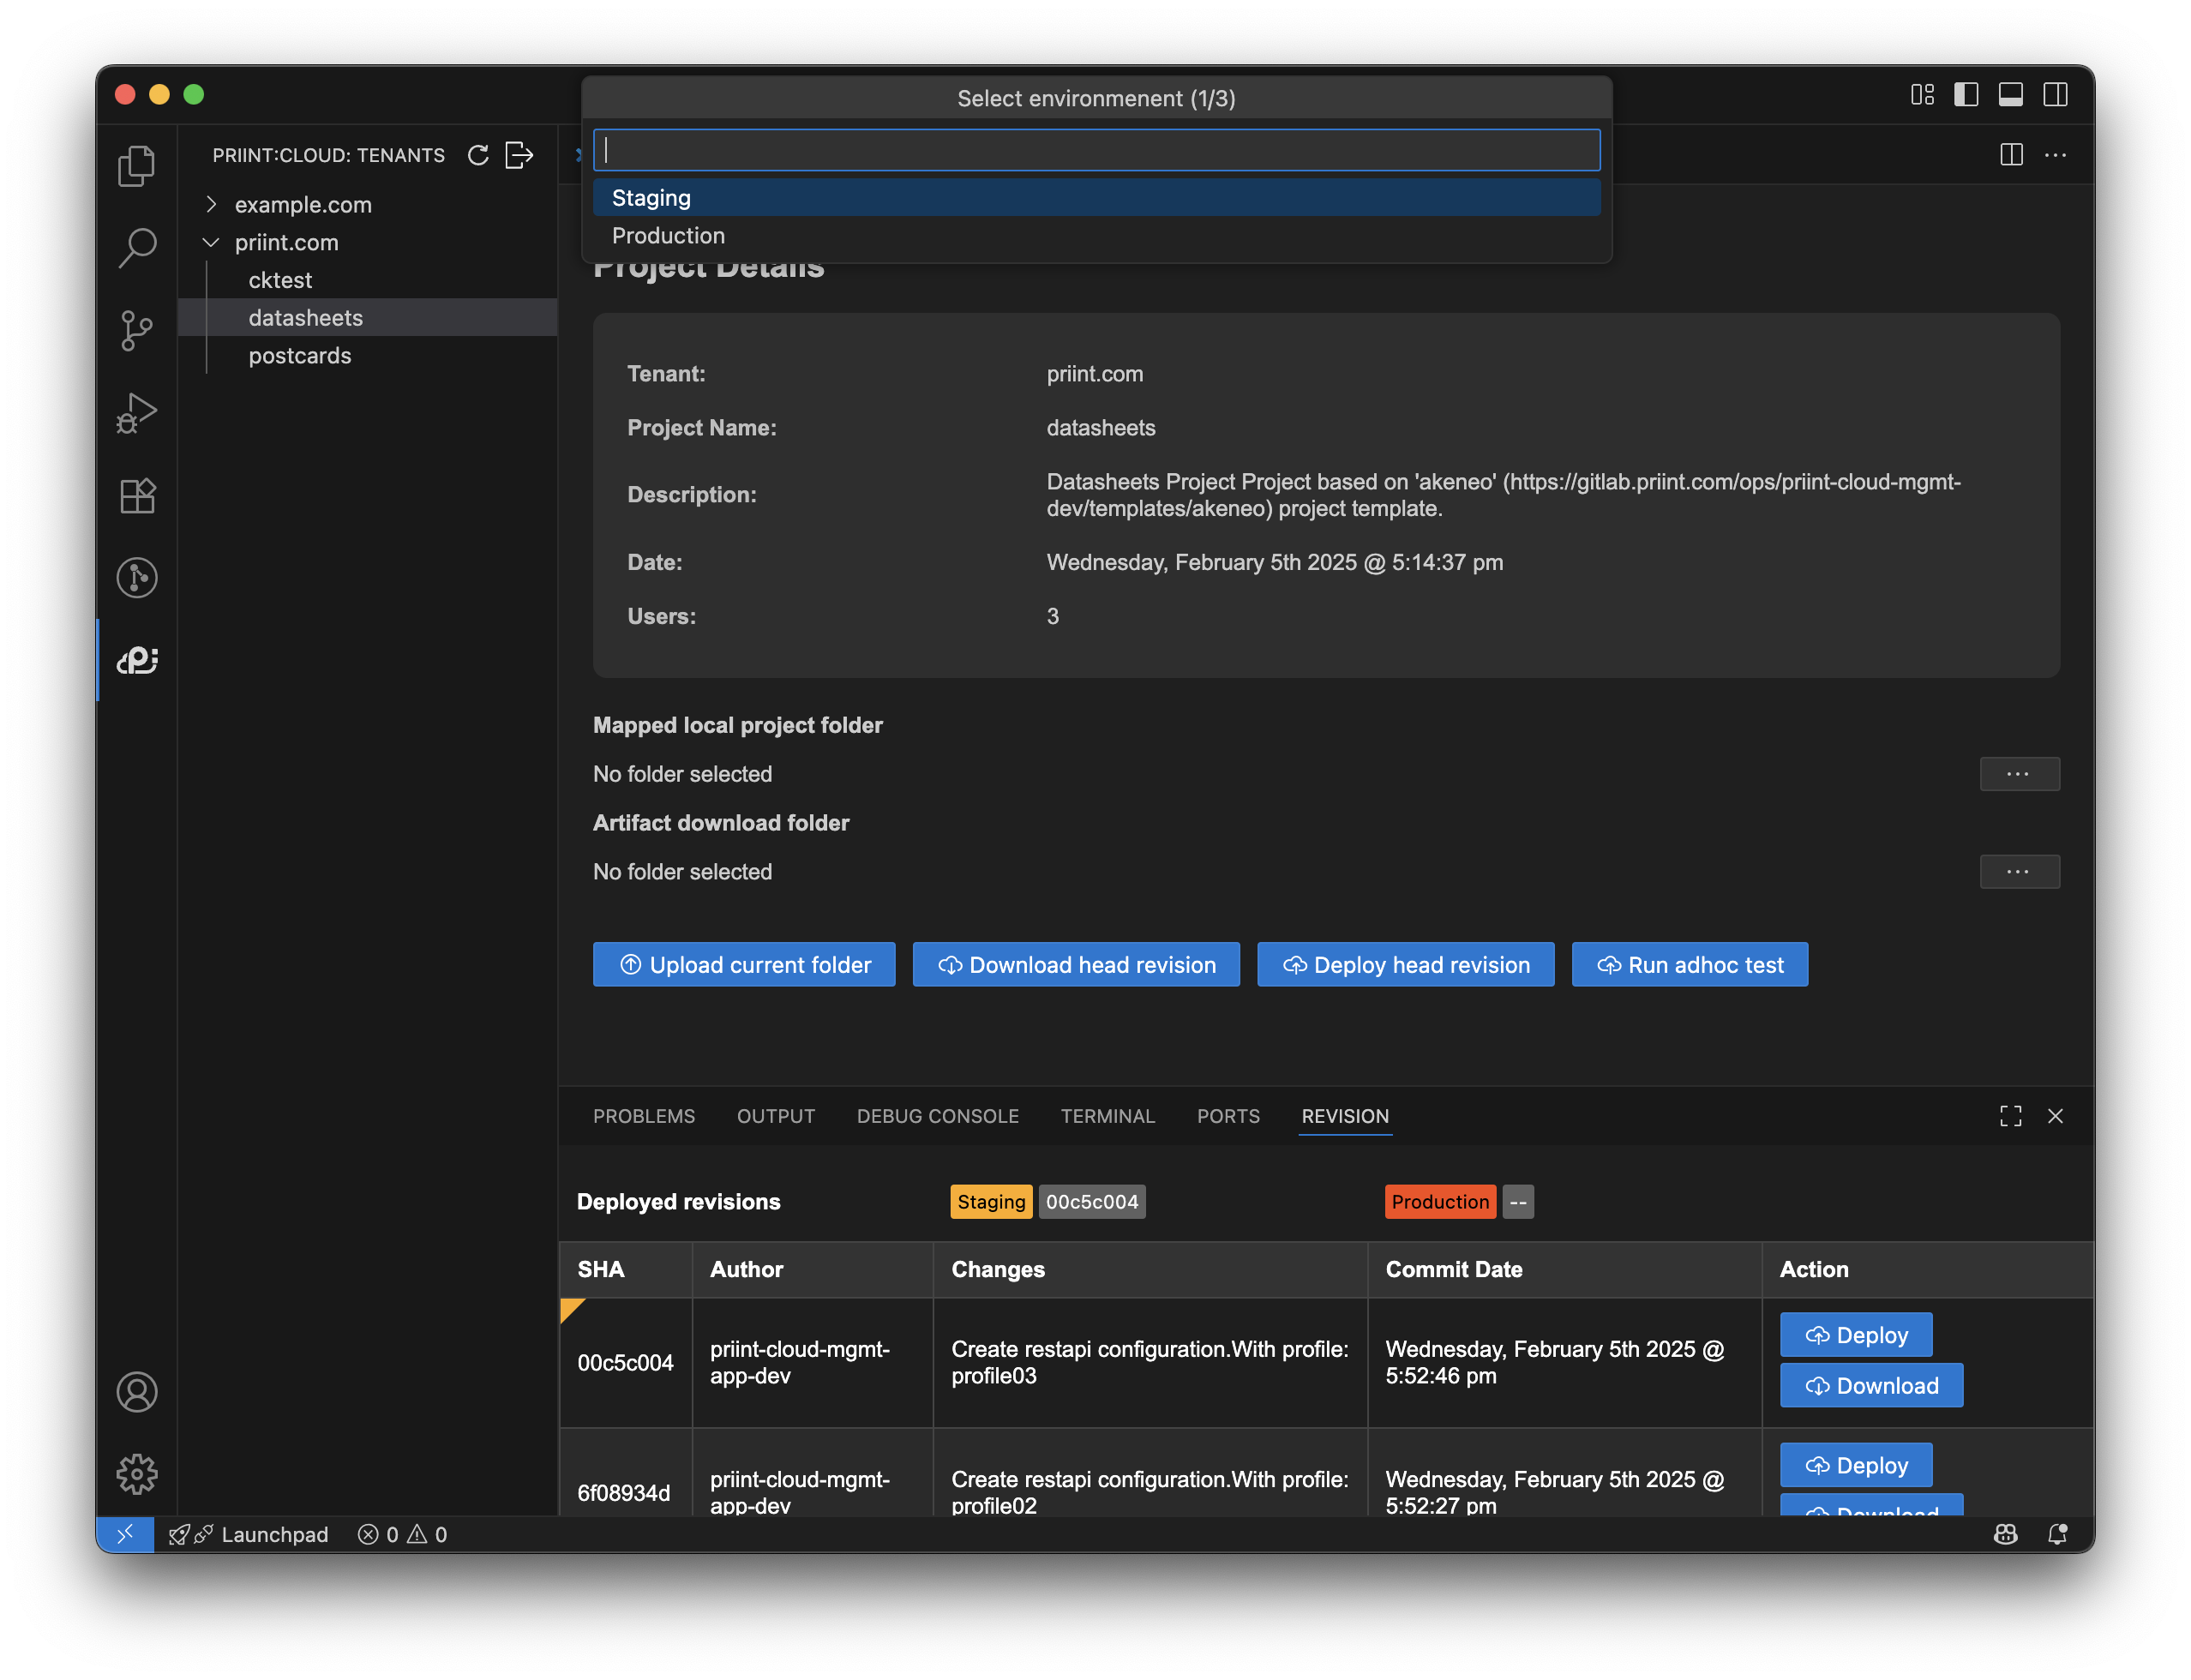
- If profile is available, it will show for user (multiple choices)

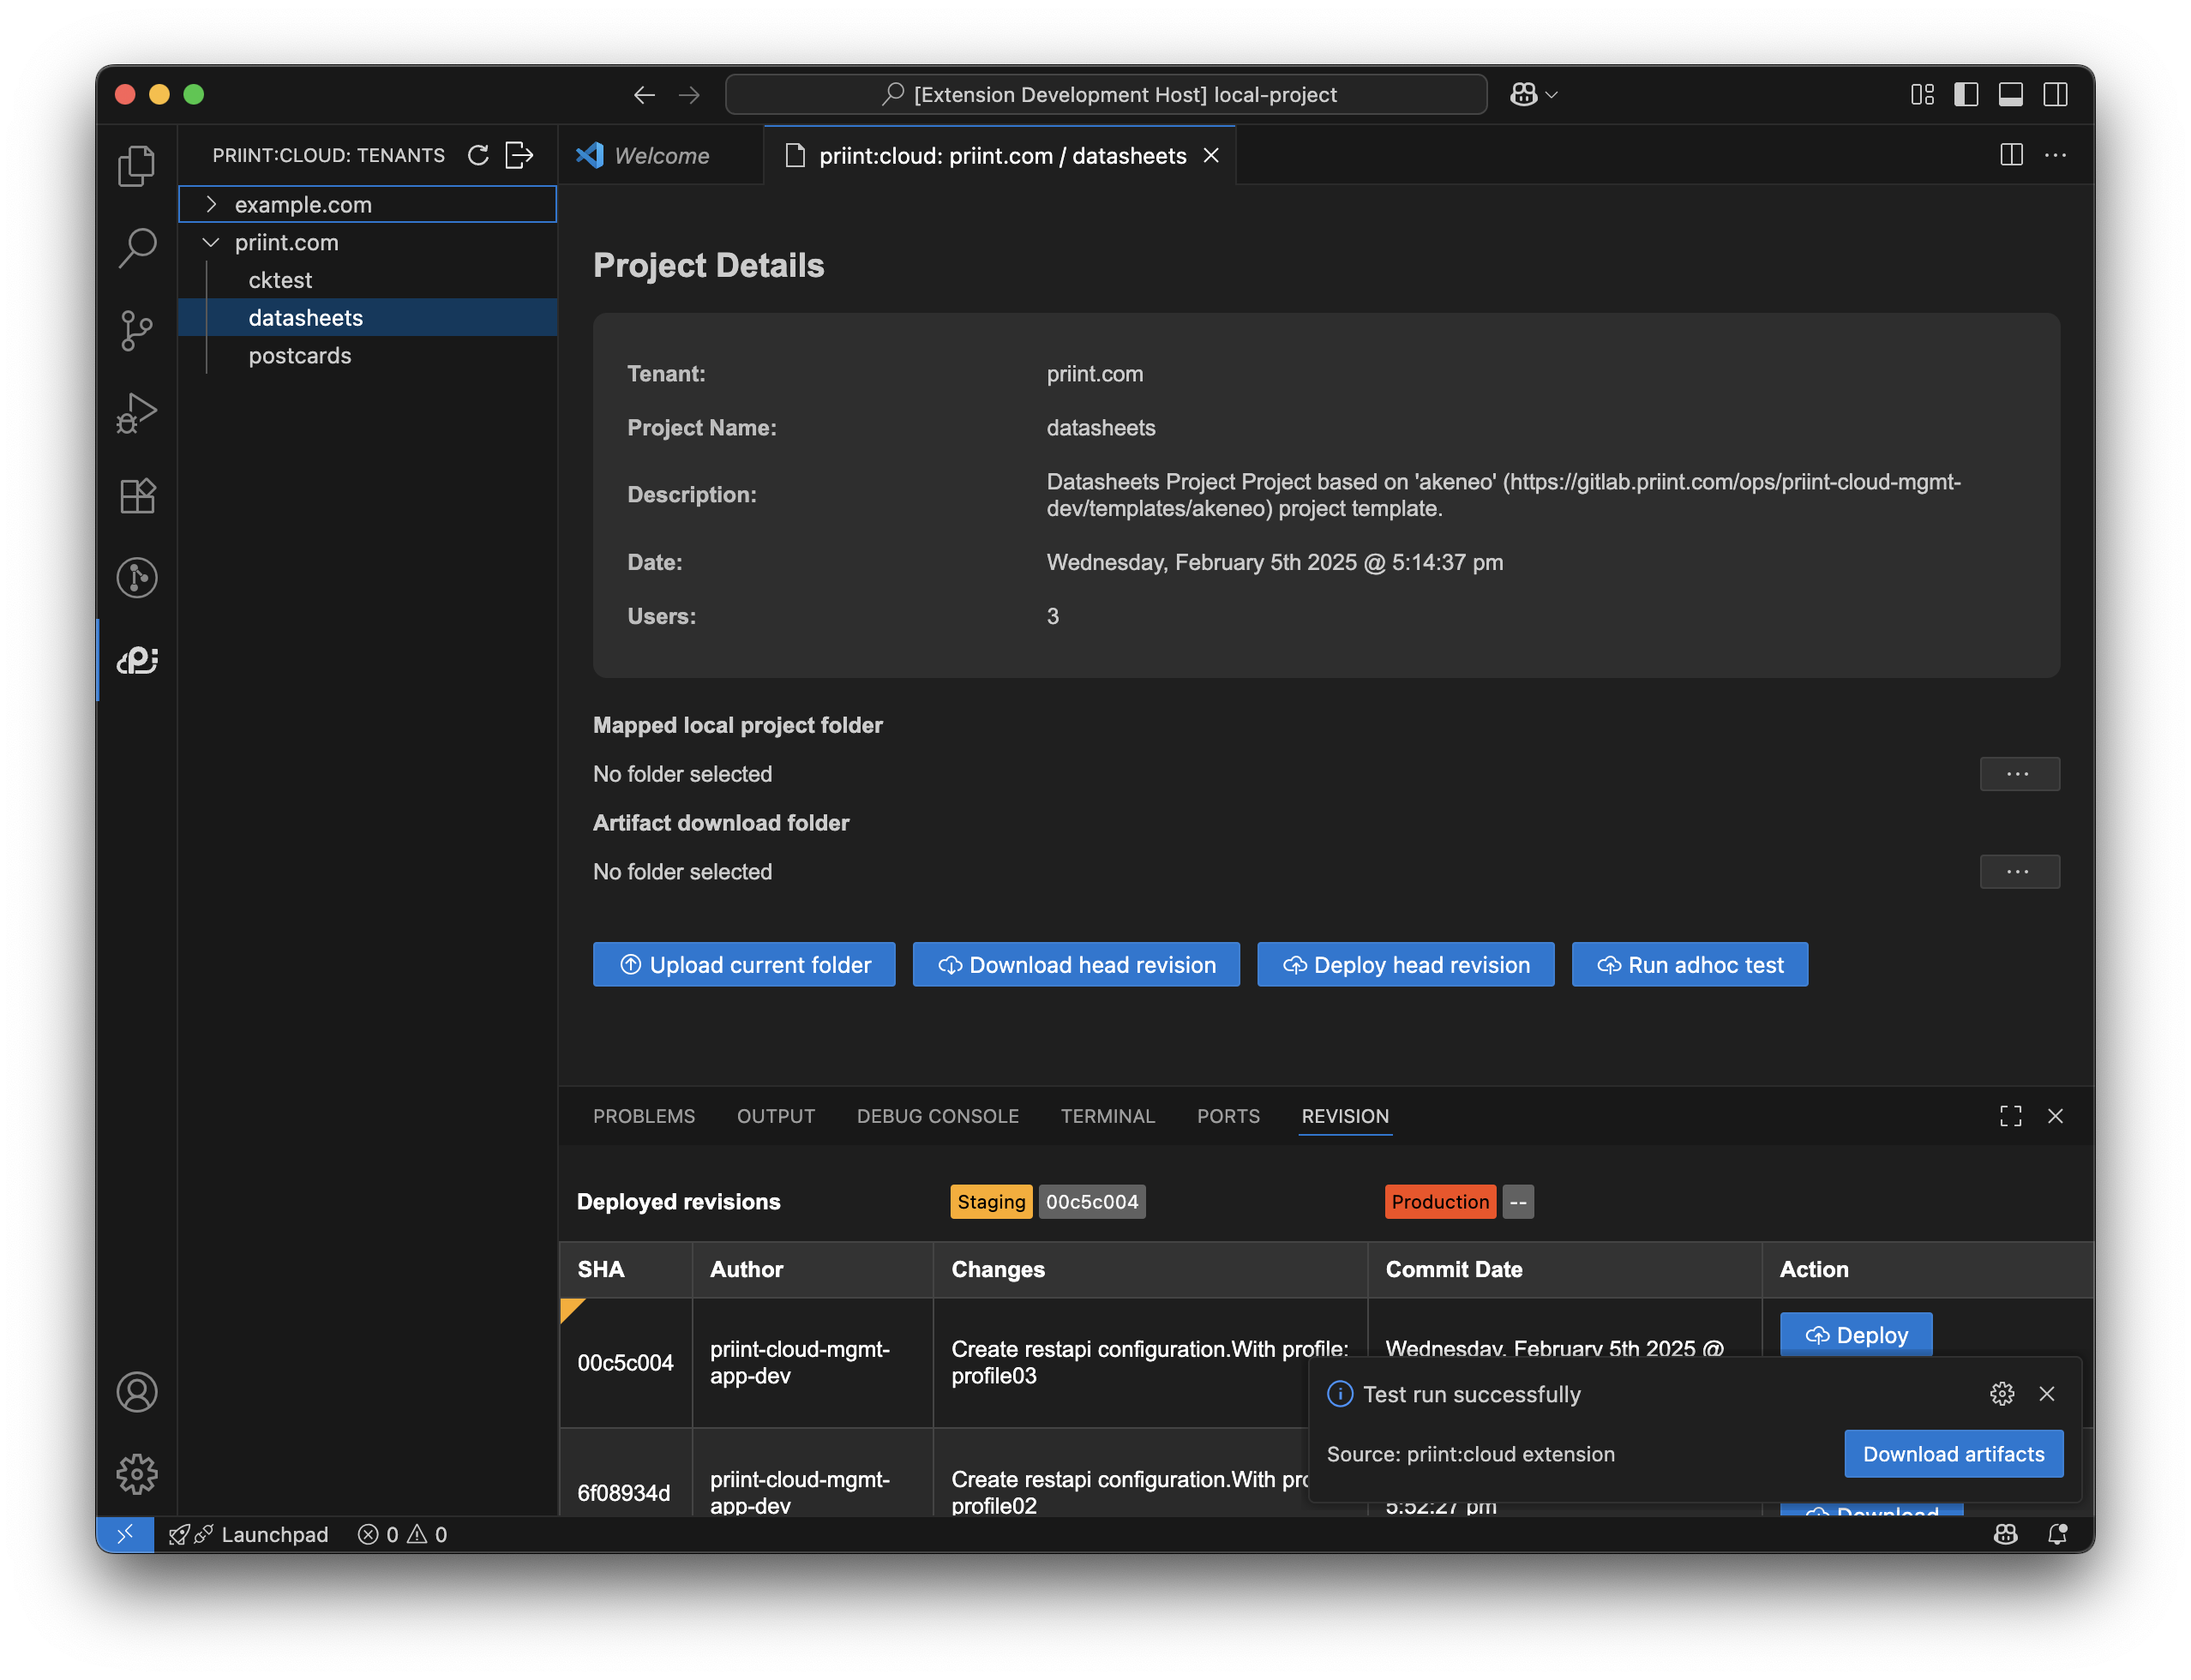
- Finally, user can select test case to run if possible

- After running successfully, user can download artifacts by clicking Download artifacts button in notification popup

Upload project for adhoc testing
To initiate an ad hoc test, follow these steps:
-
On the Project Details screen, click the Run Ad Hoc Test button.
-
The system will automatically:
- Collect all files from the currently open folder on your local device.
- Compare these files with the existing project files stored in Minio using generated ETags to identify changes.
-
Any modified files will be compressed into a ZIP archive and uploaded to the server for deployment.
-
Once the process is completed, a pop-up window will appear, allowing you to download the generated artifacts or display error message if any